
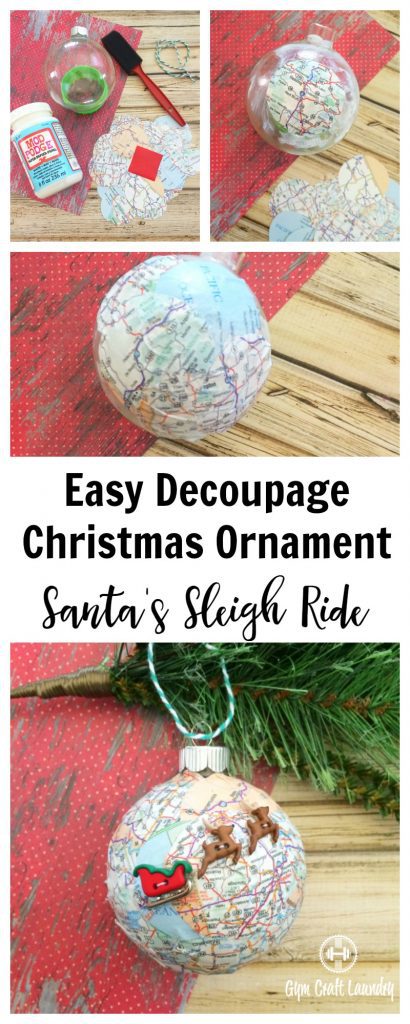
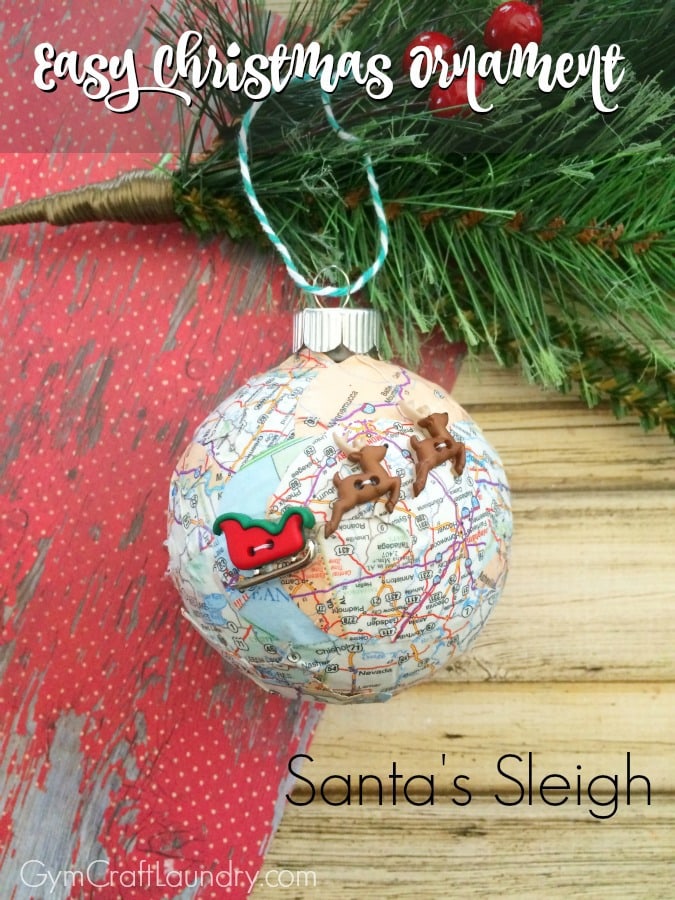
Looking for a meaningful handmade Christmas ornament? This easy decoupage Santa sleigh map ornament combines travel memories and Christmas traditions in one simple craft. Whether you use maps from places you’ve visited, your hometown, or destinations still on your bucket list, each ornament tells a story. Best of all, it only takes about 30 minutes to make and doesn’t require any special crafting skills.
Quick Answer: This DIY Santa sleigh map ornament is a simple decoupage Christmas craft made by covering a clear ornament with pieces of a map using Mod Podge and adding a decorative sleigh and reindeer. It’s an easy way to create a personalized ornament featuring places you’ve lived, traveled, or hope to visit.
Every year when we decorate our Christmas tree, we’re reminded of different seasons of our family’s life. Some ornaments were purchased on special trips, some were gifts, and many were made by little hands that are much bigger now. That’s one of the reasons I started sharing Christmas crafts here—to preserve these traditions and memories for my children and, someday, my grandchildren. This map ornament is one of my favorites because it captures both our love of Christmas and the places that have shaped our family’s story.
If you like to decoupage ornaments then these adorable sleigh ornaments are the perfect Christmas craft for you! It’s an easy project to add to your Handmade Christmas plans this year or as ornament exchange gifts! Trust me, it is easier than it looks.
One great thing about mod podge decoupage crafts is that they don’t have to be perfect. This is one project that the kids can work on with you and still get the desired look. (Sorry kids. Your crafts always are special to me but they don’t always look how I originally envisioned.)

Choosing Maps for Your Ornament
One of the reasons I love this Christmas ornament craft is that no two ornaments ever turn out exactly alike. The maps you choose can make the ornament personal, meaningful, or simply beautiful.
For years I’ve used maps and atlas pages because they’re thin enough to conform to the curve of the ornament and easy to work with when decoupaging. Road maps, state maps, world maps, travel brochures, and vintage atlas pages all work well for this project.
If you want to create a keepsake ornament, consider using maps from places that have special meaning to your family. You might choose your hometown, a favorite vacation destination, the city where you met your spouse, a military duty station, or a place you’ve always dreamed of visiting.
Of course, not every ornament has to tell a personal story. Some of my favorite map ornaments use vintage maps simply because I love the colors, typography, and old-world feel they bring to a Christmas tree. Whether you’re crafting for memories or decorating style, maps add a unique touch that makes each ornament feel one of a kind.
- Road maps
- Atlas pages
- State maps
- World maps
- Travel brochures
- National park maps
- Vintage maps
- Decorative scrapbook maps
The best map for your ornament is the one that makes you smile when you unpack it years from now and hang it on the tree again.
Materials for the DIY Map Ornament
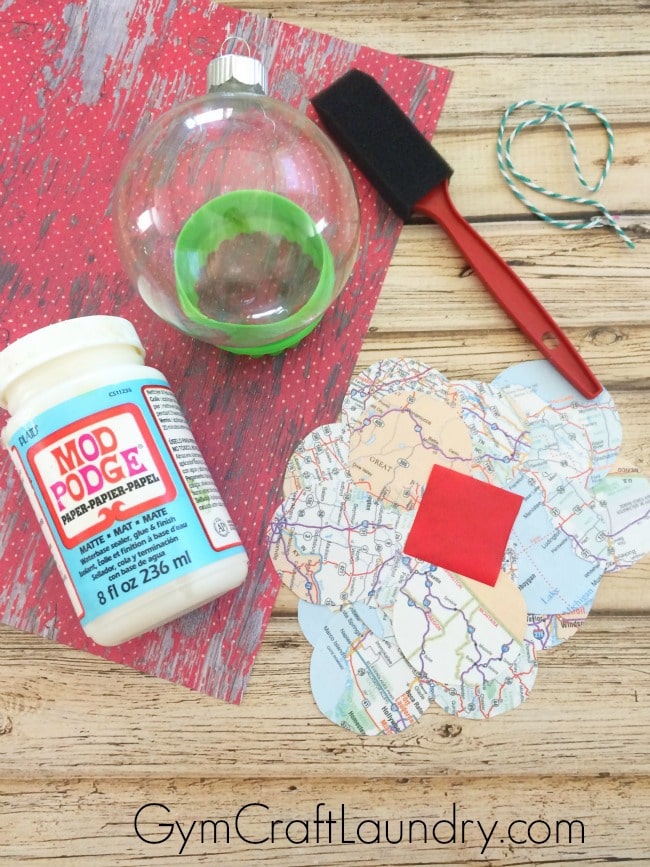
2″circle punch
map or atlas
Plain glass, paper, or plastic ornament
Mod Podge
Foam brush
Decorative string
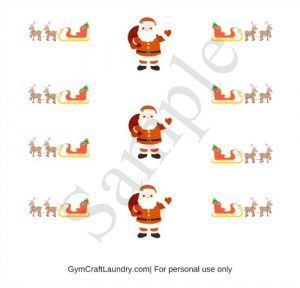
Santa’s sleigh buttons , embellishments, Christmas stickers, or my printable stickers
(if you can’t find these, or want to make several to give as gifts grab this printable Santa and Sleigh sticker sheet!)
Needle and thread
Hot glue/hot glue gun
Directions for this decoupage Santa Sleigh Ornament
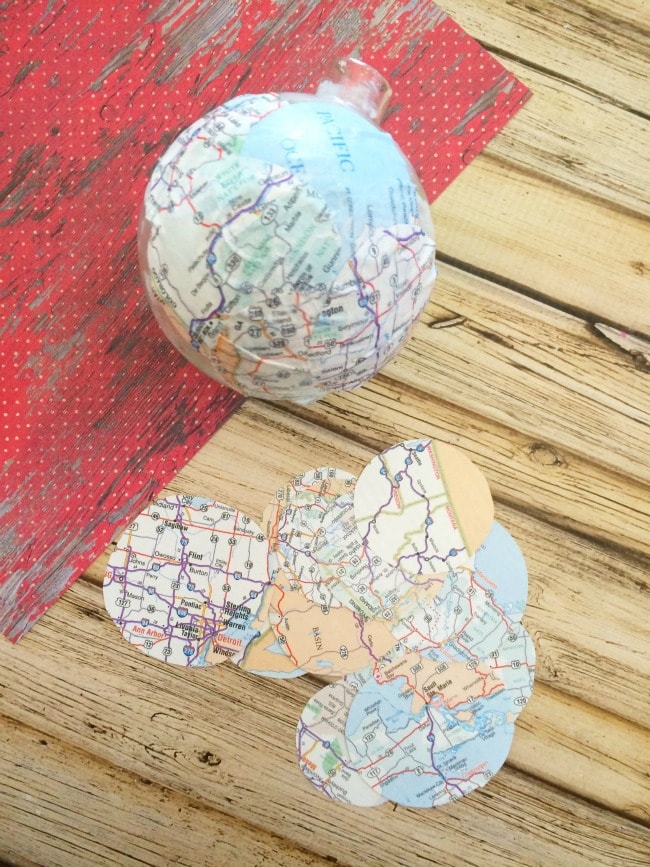
1. Cut small 2″ circles from your map (maybe your favorite places, where you live, or places you want to visit)
2. Paint your clear ornament with [eafl id=11135 name=”Mod podge” text=”mod podge”]
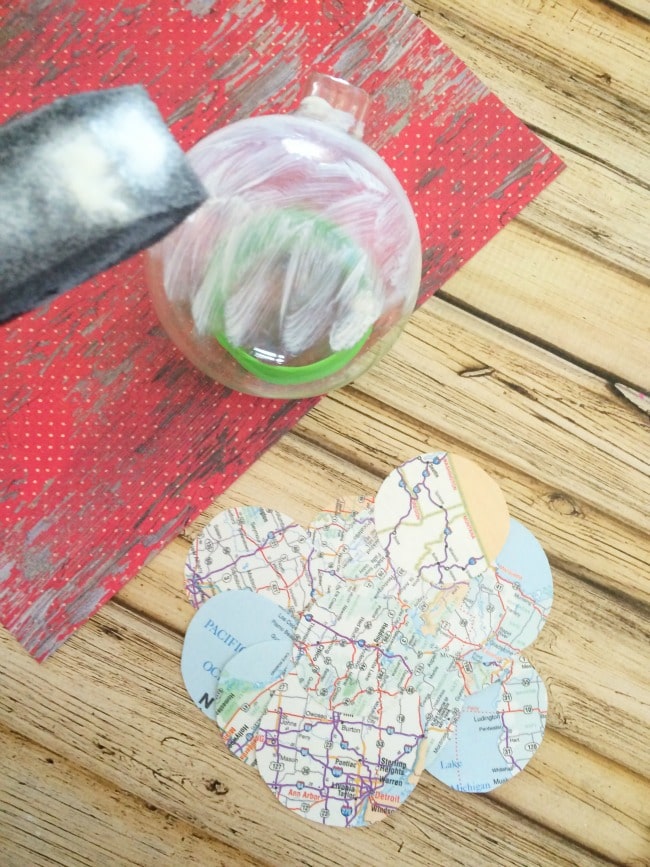
3. Place your map circles onto your ornament, then paint more mod podge on top
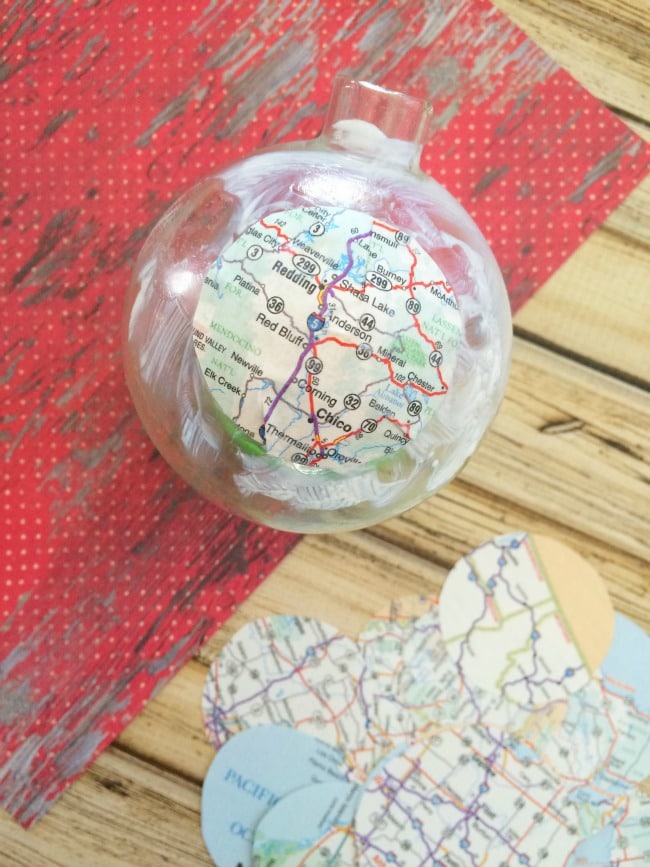
4. Smooth the maps out with your fingers, it’s messy but works best this way
5. Once your ornament is covered completely, let dry for about an hour. If you want to have an extra shiny ornament, paint it with a coat or two of minwax polycrylic high gloss and let dry overnight. (The gloss is my trick for making decoupage succulent planters look store bought!)
6. Now using your needle and thread, thread your buttons and tie off the string (just so they don’t look like empty buttons)
Related: 25 Simply Beautiful Burlap Christmas Crafts and Decor Ideas
If using these printable stickers instead, then place the sticker down where you’d want the button. Note* the sleigh is difficult to cut out. I suggest printing it on clear sticker paper or clear vellum and decoupaging it before you add a sealer like Minwax polycrylic.
7. Hot glue your sleigh, and a couple reindeer in front of your sleigh to your map ornament (if you don’t have these or can’t find them, use a sleigh sticker!)
8. Tie a piece of sting to the top of your ornament and place on your Christmas tree!
What If You Can’t Find Santa Sleigh Buttons?
When I originally made these ornaments, I used Santa sleigh and reindeer buttons that were available seasonally in craft stores. Unfortunately, those embellishments can be difficult to find from year to year.
If you can’t find the original buttons, you can use vinyl decals, Christmas stickers, printable embellishments, or pre-made ornament pieces designed specifically for this project. The ornament will still have the same whimsical look without spending hours searching for specialty supplies.
Whether you choose meaningful locations or simply love the look of vintage maps, this DIY map ornament is a fun way to create a handmade Christmas decoration you’ll enjoy unpacking year after year.
DIY Map Ornament: Easy Decoupage Christmas Craft
This easy handmade ornament is perfect for your travel loving friends and family members!
Materials
- Glass Ornament Ball
- Map
- Mod Podge
- 2" Circle Cutter
- Santa's sleigh buttons or stickers
Tools
- Foam brush
- 2 inch Circle cutter
Instructions
- Using your circle punch, cut 2" circles from your map.

- Use a foam brush to paint your ornament with a layer of mod podge.
- Place your map circles on the glass ball.
- Paint more mod podge over the top of the map circles.
- Smooth the map circles with your fingers.
- Let dry for at least one hour.
- Optional: thread the buttons so they don't look like empty button holes.
- Hot glue the buttons to the ornament or mod podge your stickers on it!
Want to wow your friends and family with more homemade Christmas Ornaments like this one?
Adorable DIY Gumdrop Centerpiece
Faux La La La La: A trio of faux glass ornaments
Pinecone Wreath Christmas Ornament
Do you like to get crafty for Christmas?
My friend Cerys from Rainy Day Mum has an awesome Countdown to Christmas e-book that I love!
Frequently Asked Questions
What is a decoupage ornament?
A decoupage ornament is a plain glass, plastic, or paper ball covered with paper cutouts — like maps, napkins, or scrapbook paper — sealed on with Mod Podge. The technique lets you turn an inexpensive clear ornament into a personalized keepsake without any special crafting skills, and it’s forgiving enough that it doesn’t have to be perfect to look great.
How do you decoupage a Christmas ball ornament?
To decoupage a Christmas ball, brush a layer of Mod Podge onto the ornament, press on your paper pieces, then brush more Mod Podge over the top, smoothing as you go. Work in small sections, overlap the edges so no gaps show, and let it dry about an hour. For a glossy, store-bought look, finish with a coat or two of Minwax Polycrylic.
What kind of Mod Podge is best for ornaments?
Any standard Mod Podge formula works for ornaments, but matte or gloss are the most common choices for Christmas balls. Apply it both under and over your paper so the pieces are fully sealed, and add a clear sealer like Polycrylic on top if you want extra shine and durability.
What paper works best for decoupage ornaments?
Thin paper works best because it conforms to the curve of the ornament without wrinkling. Maps and atlas pages are ideal — they’re thin, meaningful, and easy to tear or cut — but tissue paper, napkins, sheet music, and scrapbook paper all decoupage well too.
How do you make a map ornament?
To make a map ornament, cut small 2-inch circles from a map — choosing places you’ve lived, traveled, or hope to visit — then decoupage them onto a clear ornament with Mod Podge until it’s fully covered. Once dry, add a decorative sleigh and reindeer and a string for hanging. The map theme makes each one a personalized travel keepsake.
What can I use instead of Santa sleigh buttons?
If you can’t find Santa sleigh buttons, you can use vinyl decals, Christmas stickers, printable sticker sheets, or pre-made ornament embellishments. The seasonal craft-store buttons are hard to find from year to year, so a printable sleigh-and-reindeer sticker is the easiest reliable substitute. (This is your direct conversion answer — it’s also a real, frequently-asked question, which is why it earns a slot rather than feeling like an ad.)
Are decoupage ornaments durable enough to reuse?
Yes — once sealed with Mod Podge and a clear topcoat, decoupage ornaments hold up well and can be unpacked and rehung year after year. A finishing coat of Polycrylic adds extra protection and a glossy shine that keeps them looking handmade-but-polished over time.
Can kids help make decoupage ornaments?
Decoupage ornaments are a great craft to make with kids because the technique is forgiving and doesn’t need to be perfect. The Mod Podge is messy but easy to smooth with fingers, so children can place the paper pieces while an adult handles the sealing and any hot glue.

What a creative approach. It’s look so freshly and cute!
Amazon sells the sleigh and reindeers
This is adorable! What a great idea!!
What size glass ornament did you use for this project? This novice definately wants to give it a try!
Hi I used the standard glass ball size that is at Michaels!
What an awesome ornament! We’re a big travel family so anything with maps always catches my eye – very creative!
Jacquie recently posted…Christmas Games for Kids: Going on a Gingerbread Hunt
DIG this scene…SWEEEEEEEEEEEEEEEEEEEEEEET!!! Many thanks for linking up at Lambert’s Lately!
What a clever idea! I love any excuse to play wtih maps 🙂
Ellen @ Cutting Tiny Bites recently posted…Pink Pinecone Ornaments
this is *so* kick ass!
swapna recently posted…Salt Dough Christmas Ornaments
I love the idea of using an old map as the background! It’s the perfect setting for Santa and his reindeer! #ThoughtfulSpot
Emma recently posted…Top 10 S.T.E.M. Gifts for Kids
This is so adorable! I just love the map idea so much!!!!
Echo recently posted…A Christmas Bear (Personalized Book and Bear) Giveaway!