
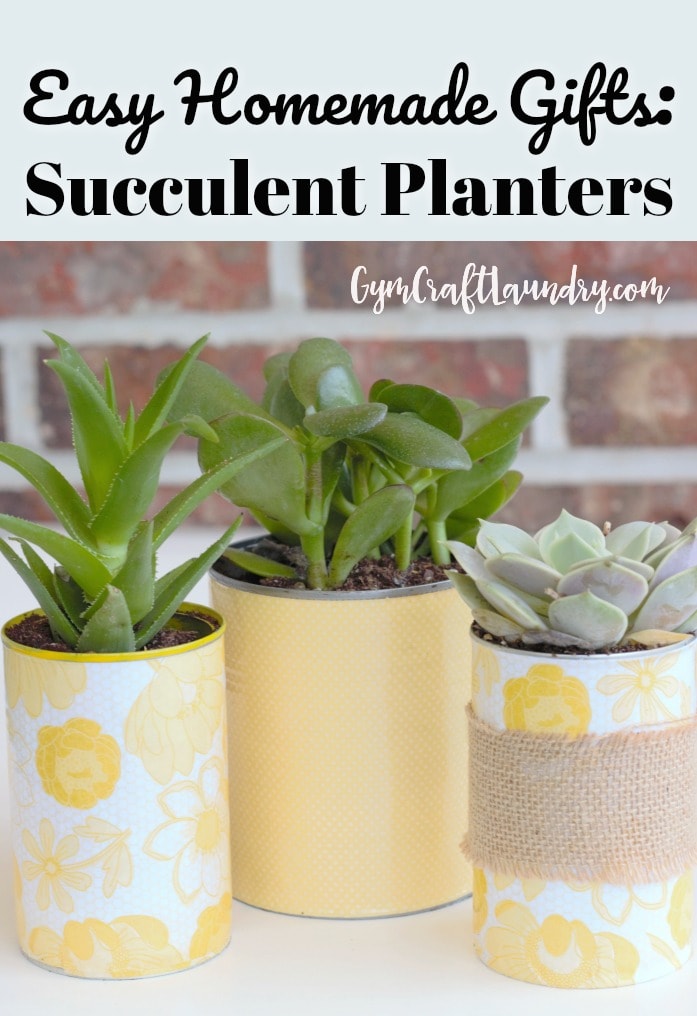
Are you one of those people that hate to spend money on “frivolous,” impractical things like home decor but want to have a nicely decorated living space? I sometimes wish I wasn’t so programmed to rationalize why not to buy things–especially things whose chief function is to look nice. But there are ways to decorate your home on a budget. One of the most fun ways, for me at least, is to make the decor yourself. These cheerful decoupage succulent plants, barely cost anything! Decoupage is one of the easiest crafts there is.
Plus, you can make several of these to give out as Teacher Appreciation gifts, Mother’s Day gifts, or Housewarming gifts.
Materials for the decoupage succulent planters:
Affiliate links have been added to this post for your shopping convenience.
Three tin cans
Mod Podge (I love this stuff)
Rocks from the yard
How I did it:
Even though it was a project my kids helped me with, I didn’t want it to look like a “kindergarten project” since I planned to gift some and display a few. I fiddled around and finally came up with a “trick” to make it look more professional.
The first can I painted yellow but hated how it looked so I use the mod podge to decoupage pretty scrapbook paper onto it.
It still looked a little “kid-made” because I could see the ridges of the can beneath the paper.
I solved this problem by decoupaging another layer of the exact same print of scrapbook paper over the top of the first layer. The first layer smoothed over the tin can ridges.
After letting it dry for an hour or so, I put a coat of modge podge over the paper and allowed it to dry. I used glossy for this project but since the polycrylic is glossy, I could have used matte if I wanted.
I then put a coat of minwax polycrylic over it and allowed it to dry overnight. The finish protects the project and adds another dimension of gloss.
I knew I would be watering the succulents and didn’t want the paper to get water-stained and discolored, I brushed on a second coat of polycrylic and allowed it to dry.
I put a layer of rocks at the bottom of the cans and put some moss on top of the rocks before planting the succulents to allow excess water to have somewhere to drain. I’m not sure if it will work but I will let you know!
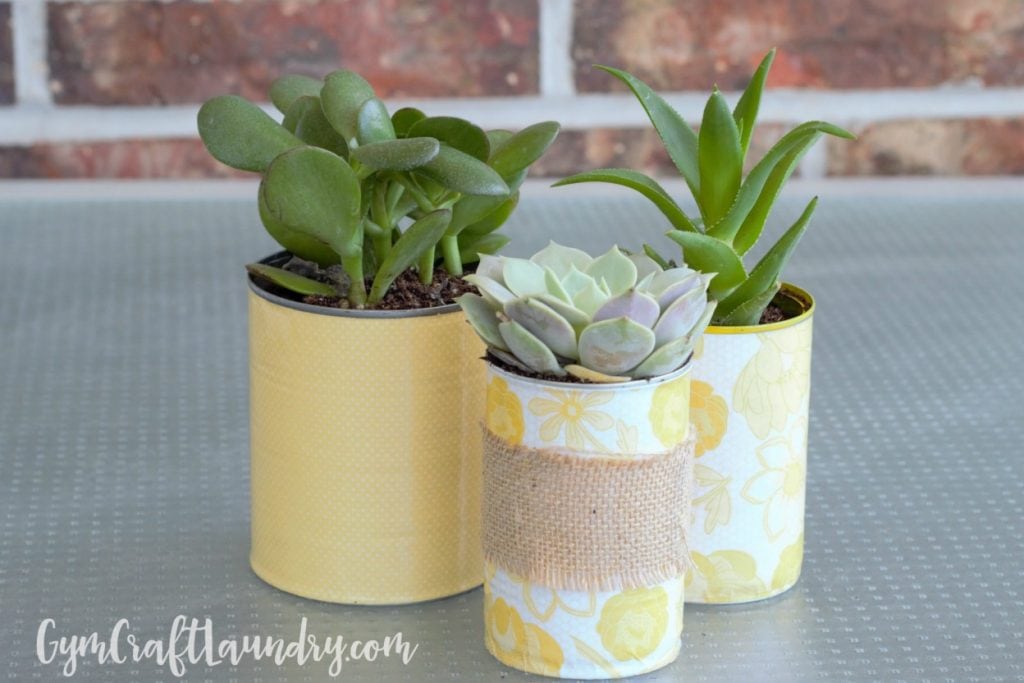
I wanted to add a little variety so I embellished one can with a strip of burlap hot glued around it. This is totally optional. The scrapbook paper by itself works fine.
They came out so pretty. The polycrylic really makes them look like store bought accessories rather than tin can succulent planters!

These containers could also be used for cutlery to put on your Barbeque table with matching napkins. My daughter put burlap & a pretty ribbon on her cans & matched it up with napkins & plastic cutlery.
Great idea! We made a set with red and white stripes and navy blue with stars to use during our July 4th barbecue!
I love this post and how you did this for your plants. So cute and would make wonderful gifts. Thanks for linking up to the Bloggers Brags Pinterest Party. I’ve pinned your post to the Bloggers Brags Pinterest Board
These look so good – and much nicer than something you would buy from the store, and no one would guess they used to be a tin can! I like that you can make a ‘grown up’ version for the living room but you could also get the kids involved to make a few more haphazard looking ones for the kitchen windowsill maybe!
Clare recently posted…Mama’s Memories
Love this idea! Great pattern choice, goes wonderful with the succulents.
Have a beautiful weekend!
You too! The yellow looks so cheerful and positive to me.
This is such a cool idea Herchel! And I love modge podge…that stuff is awesome. I used to decopauge things all the time! I hope you will link it up with us…this is perfect for decorating for BBQs! Regardless though, I just pinned it…now I just need to find time to try it!