The Scrugglets share a room. When they were babies their room was done in a neutral jungle print. The walls were painted a nice light yellow. I used the same crib, bassinet, and travel system for both of them.
Then they graduated to toddler hood and became Disney fanatics. Again this was pretty easy. Their room was painted a nice glossy white to make cleanup easy. For every Mickey Mouse toy, there is a matching Minnie Mouse toy. Disney is very popular and easy to find. My sister purchased Disney wall decals for them as gifts.
Now they have distinct differences in taste so I decided to take down their Mickey Mouse and Friends wall decals and put up decals that reflect their current tastes. For Pork Chop, he simply wants Ninjago decals to go with his bedding.
As you can see from the Easter Eggs we decorated this year, Pork Chop is a Lego Ninjago fan. He loves ninjas and Legos, so of course it only makes sense that he asked for Ninjago bedding. However, we ran into a bit of a problem when it came to wall decals.
Ninjago decals are NOT Cheap. I found a 12 inch tall wall decal for $24.95 online. ONE decal for almost $25.00! What the wha? It’s a removable sticker, people! One that he will probably write on or move some time in the near future if he follows the same m.o. that he’s used on his previous decals, which by the way, cost my sister about $20.00 for two packages filled with small decals.
I know that he will outgrow his room decor sooner rather than later, so I don’t want to break the bank.
I’ve found that when you want something that you don’t want to buy, you’ll find a way to make it! Tweet
So I set out to make a few diy kids wall decals for his room and it was easier than I expected. It’s actually ridiculously easy and ridiculously inexpensive too.
(This method can be used with any pictures you want to turn into a decal.)
Materials you need for the DIY kids wall decal:
- Clear contact paper (by the way, have I mentioned lately how much I love this stuff!)
- markers (optional)
- Printed out pictures or pictures cut from used books
- scissors (I used sewing scissors for the intricate parts
Directions:
- Print out your picture (I printed most of mine about 8×11. I got them from Dragonart.com on their learn to draw Ninjago tutorials. Pork Chop is also learning to draw them.)
- Color in areas that you want brighter if you want with the markers.
- Cut out the picture.
- Place on contact paper and measure out enough to completely fold over the picture.
- Cut out contact paper into two equal pieces that will fit the picture in between them.
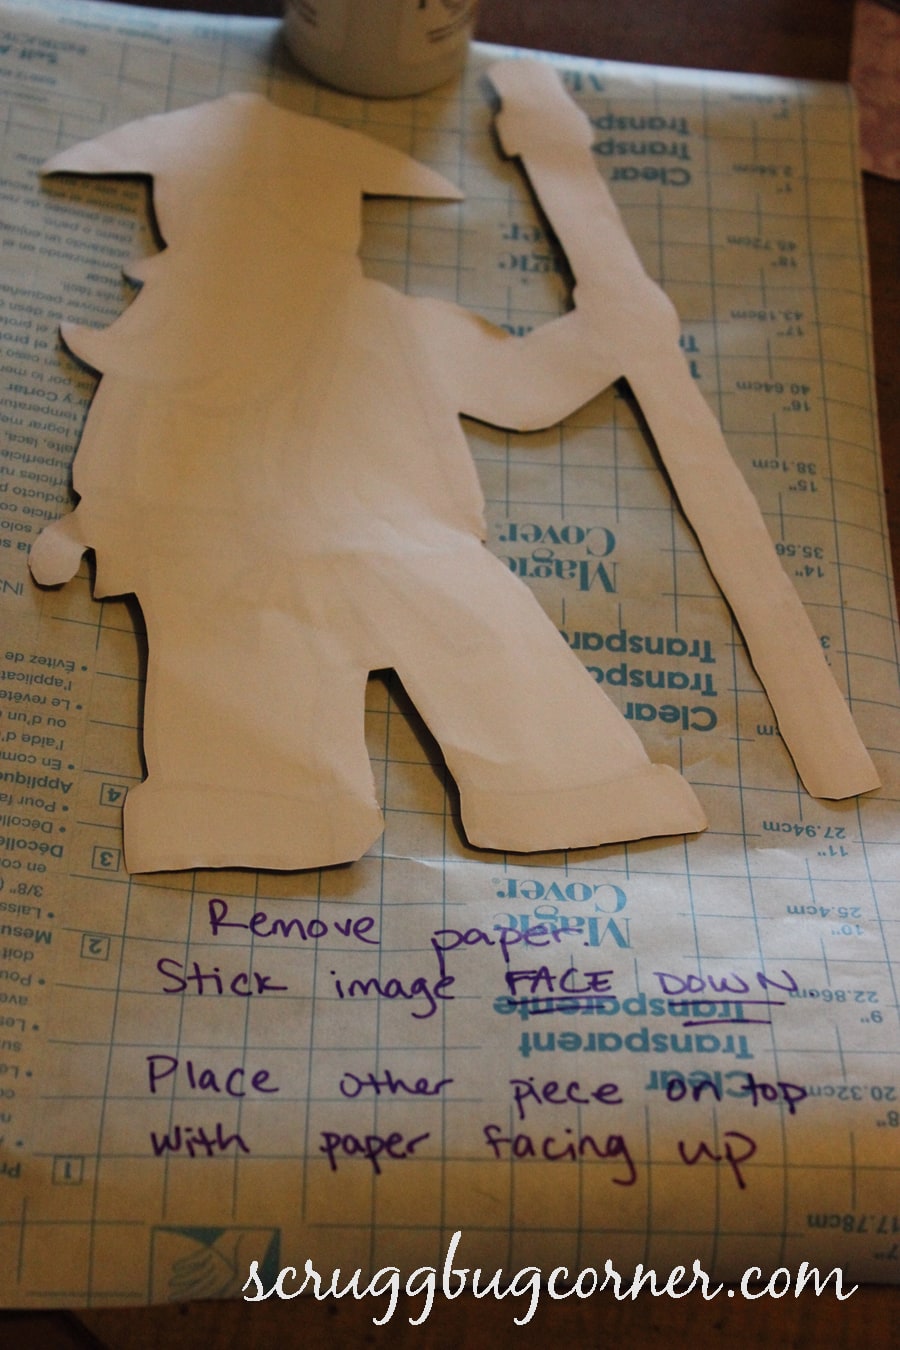
- Remove paper backing from one sheet of contact paper.
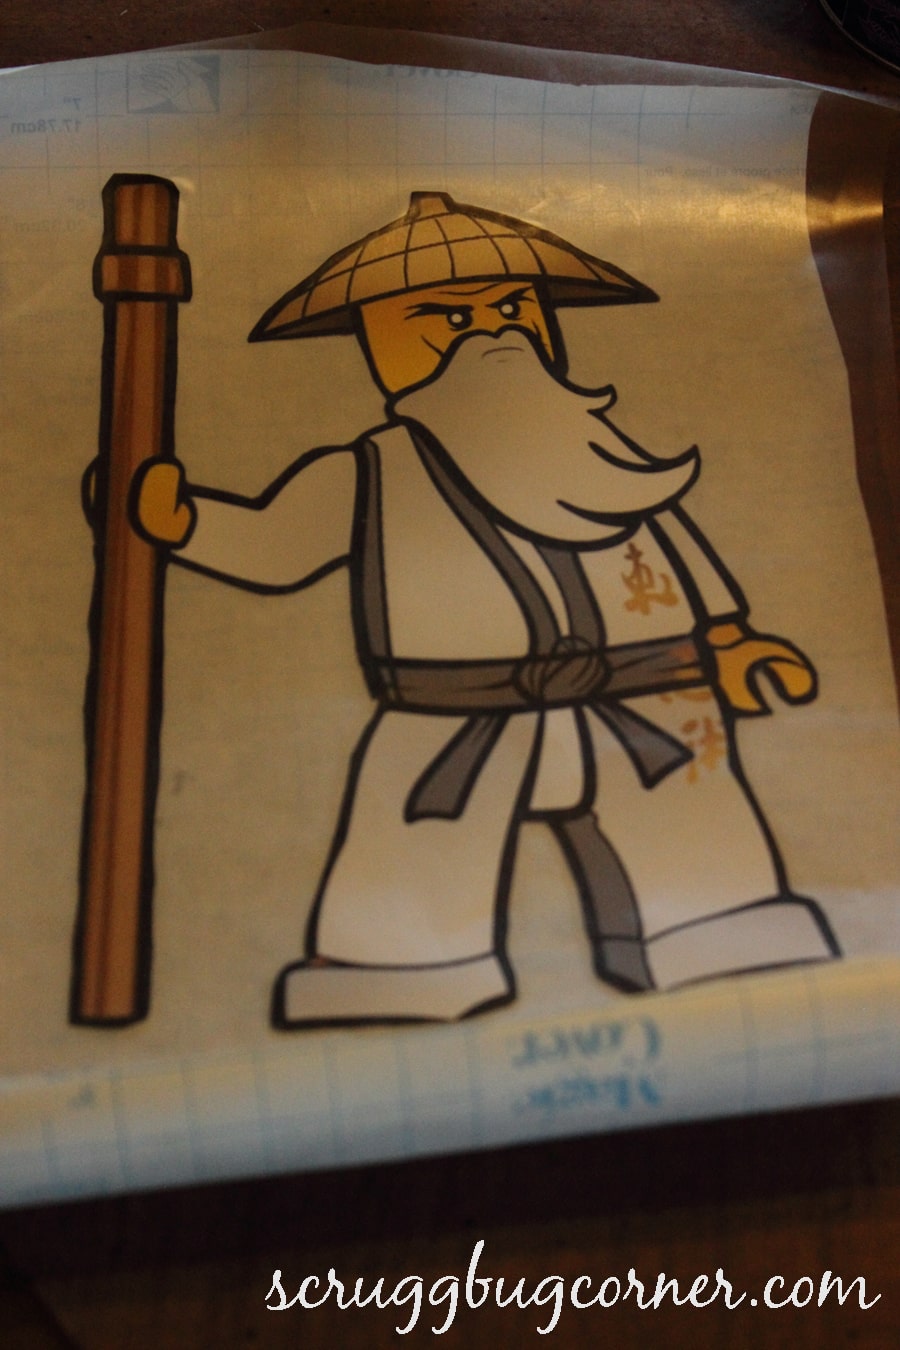
- Place picture face down on sticky side smoothing onto the sticky contact paper from the center out. Make sure to firmly press the image down on the paper.
- Place non-sticky side of the other piece of contact paper (without removing paper backing) on top of the picture.
- Smooth the second piece firmly over the first piece with the image sandwiched in the middle.
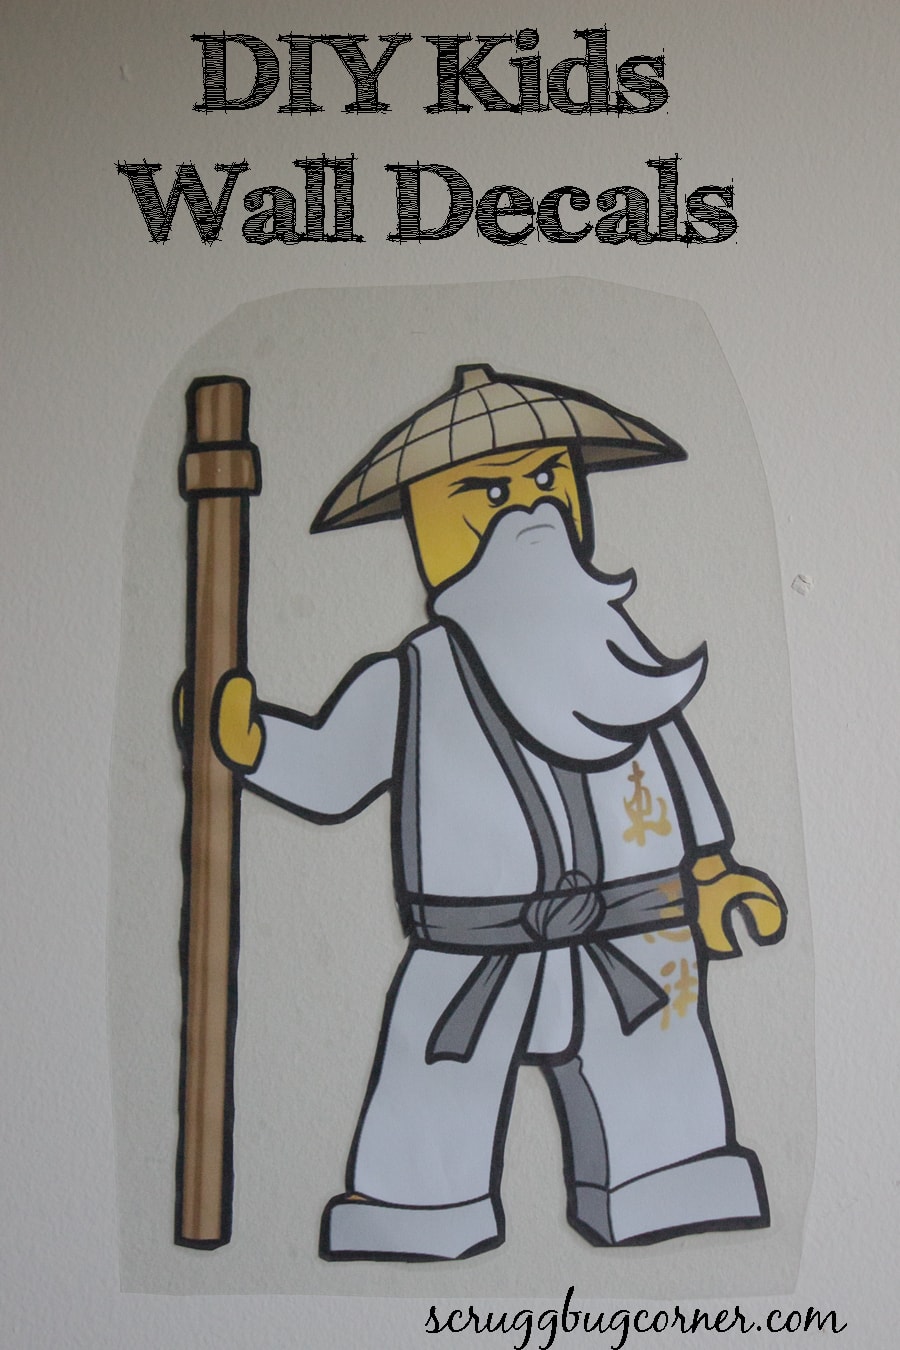
- Remove paper backing and place decal where ever you wish on the wall! Enjoy
Note: I tested the contact paper on my wall and it did not damage the paint in any way. You may want to check it on your wall first.
I made decals for all of the Ninjago characters. The decals in this tutorial were extras. Pork Chop did not want me to decide where his decals go. He is very particular about where he wants his decorations in his room!
Bonus: He was so happy he had Ninjago decals that he didn’t notice they weren’t store bought and was excited I made them for him. {Mommy points-yes!}
For more Lego Ninjago fun, check out these party ideas from Family Food and Travel!
https://familyfoodandtravel.com/how-to-throw-a-lego-ninjago-party.html


Jennifer says
Can you make these for me ? I need them for a Lego table semi small they’re for a Lego table if you say yes ill share my email
Herchel says
Sure I would be happy to make them.
Echo says
This is so awesome! Thank you for sharing it, Herchel!
Echo recently posted…Mom or Fashionista? You decide!
Herchel says
Thanks echo. My son loves it