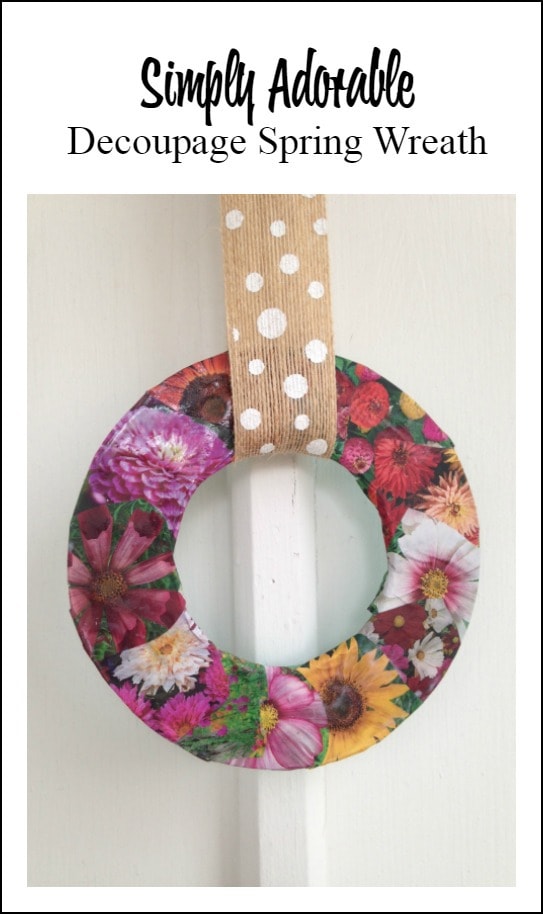
Have you ever saw something and thought, hmmm that would make a great decoupage Spring wreath? Really? You haven’t? Yeah–I know. Crafters are weird. I’ve shared a few decoupage ideas with you guys and a few wreaths. But I’ve never done a decoupage spring wreath before! Well, there is a first for everything, my friends.
Create this sweet and simple decoupage spring wreath using a basic wooden wreath form and an old gardening magazine or seed catalog. It makes the perfect spring time project and is a floral accent you won’t have to worry about watering! If you are planting a bunch of seeds and have empty seed packets lying around, those would work too!
Here is how you can craft your own.
Supplies needed:
(affiliate links are included for your shopping convenience)
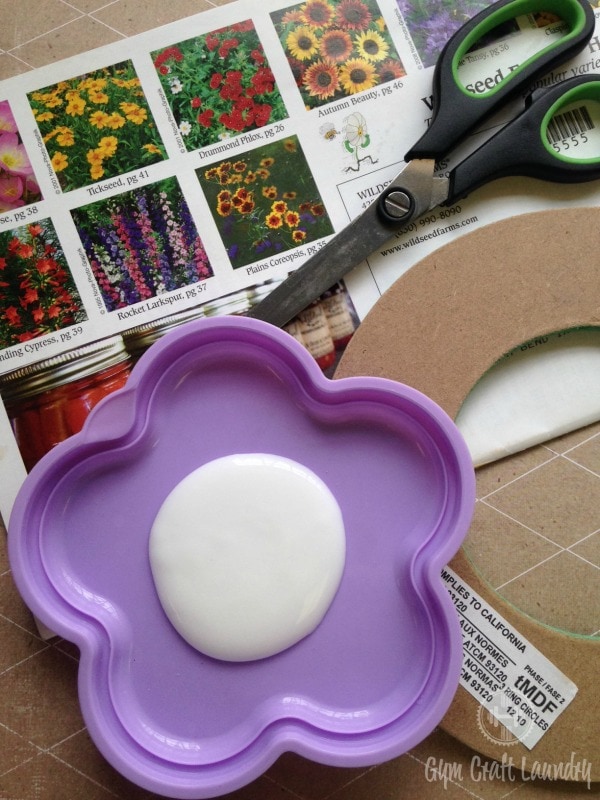
[easyazon_link identifier=”B00C1IMCSW” locale=”US” tag=”scrugcorne-20″]Wood wreath form[/easyazon_link](flat, various sizes, found at local craft store)
Old seed or [easyazon_link identifier=”B00SKF2UBE” locale=”US” tag=”scrugcorne-20″]gardening catalog[/easyazon_link]
[easyazon_link identifier=”B001IKES5O” locale=”US” tag=”scrugcorne-20″]Mod Podge[/easyazon_link]
Foam brush (optional)
Scissors
Ribbon for hanging
Directions for this easy decoupage spring wreath:
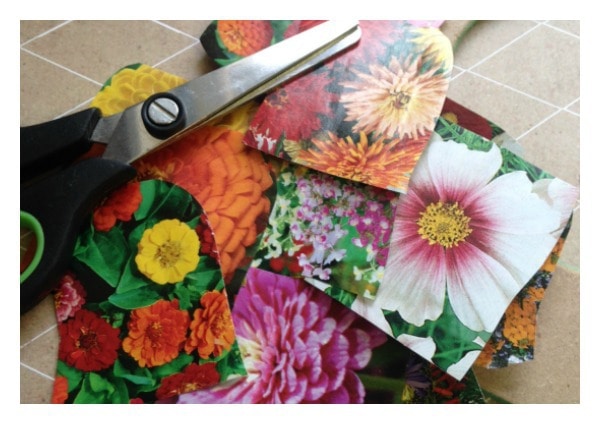
1. Begin by cutting out pictures of your favorite flowers. Choose all sorts of varieties in various colors and sizes.
2. Apply a thin coat of Modge Podge to the wreath form. As you apply, add one of your cut outs over the layer and press. Smooth out any wrinkles.
3. Continue adding floral cut outs, slightly overlapping them as you go. Don’t worry about pieces hanging over the edge. You will deal with these later.
4. Once the form is covered, add a top layer of Modge Podge. You can use your finger or your foam brush to apply a thin layer. Smooth it out making sure you have no wrinkles or bubbles. Allow to dry.

5. Once your covering is dry, you can trim the edges with scissors OR add some more Modge Podge to them to soften them up and fold them over the edges for a clean look. (I like to finish some of my projects with [easyazon_link identifier=”B000C02AO2″ locale=”US” tag=”scrugcorne-20″]Minwax Polycrylic Varnish[/easyazon_link])
6. Add an optional ribbon for hanging.
Do you want more home decor craft ideas? Follow my home decor accents Pinterest board!
Follow Herchel from Gym Craft Laundry’s board Home Decor Accents on Pinterest.
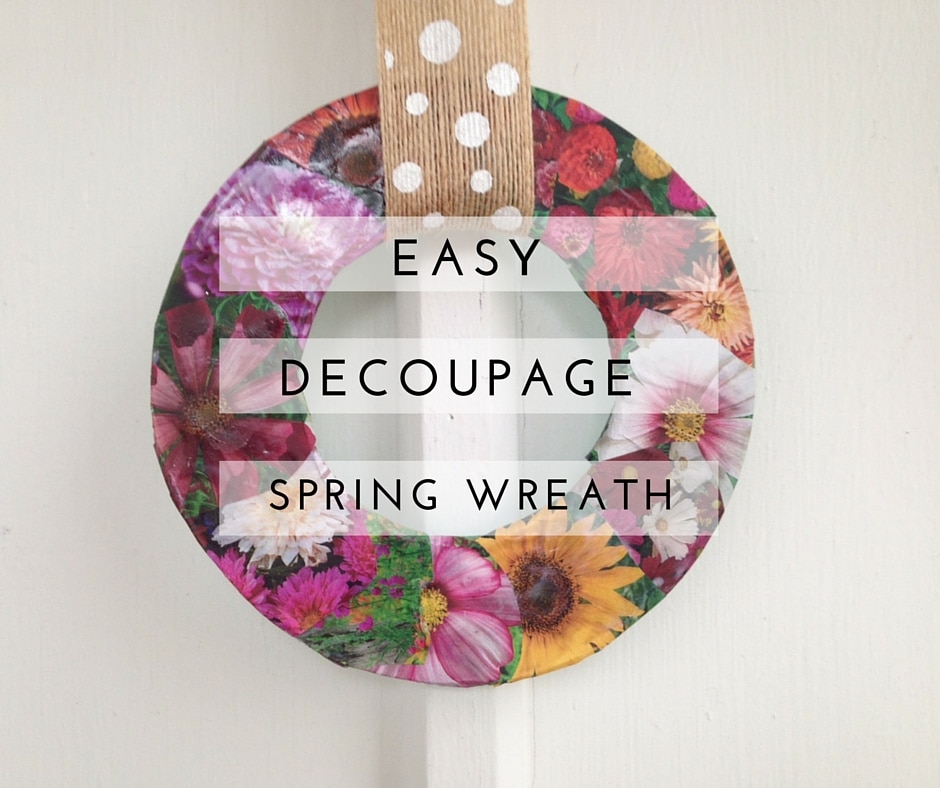
Your decoupage spring wreath is now ready to be displayed. Aren’t you ready for spring too? Are you making a spring wreath this year? Need ideas?
DIY Spring Wreath Ideas
Do you love to craft?

The Craftsy Winter Clearance sale ends 2/29/16 at 11:59 MST. This is your last chance to get deep discounts on project kits and craft supplies!
[activecampaign form=1]


So cute! I am going to make this for my daughter’s classroom!
Kristen recently posted…The 30 Reasons My Kids Cried Today
That’s a great idea! I didn’t even think about the never ending “door decoration” rotation.