
It’s been a few months since we did our last window cling project. The holiday season and successive Halloween, Thanksgiving, and Christmas themed window clings, resulted in window cling burnout for my kids.
We recently enjoyed a week long Spring Break Stay-cation. We had one day inside the house because of poor weather but have been at the zoo, playgrounds, and outside every single day.
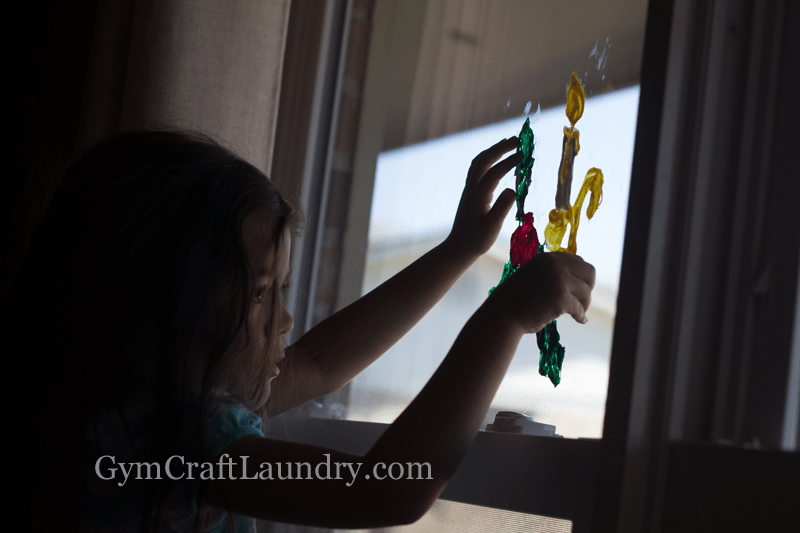
The kids surprised me by asking if I had puffy paint because they wanted to make some DIY window clings for Easter.
This post contains affiliate links for your shopping convenience.
Materials:
- [easyazon_link identifier=”B00INIVH8K” locale=”US” tag=”scrugcorne-20″]Easter coloring pages[/easyazon_link]
- [easyazon_link identifier=”B002JQ0N32″ locale=”US” tag=”scrugcorne-20″]puffy paint[/easyazon_link]
- [easyazon_link identifier=”B00005NAWM” locale=”US” tag=”scrugcorne-20″]gallon sized plastic zip bags[/easyazon_link]
I printed out some free Easter coloring sheets I found online because I didn’t know where their Easter coloring book from last year was hiding. The trick to good cling templates is to find simple coloring pages that don’t have many thin parts that sticking out. (Think of a man with a fishing pole. The fishing pole would be difficult to peel and keep intact when transferring the cling to the window.)
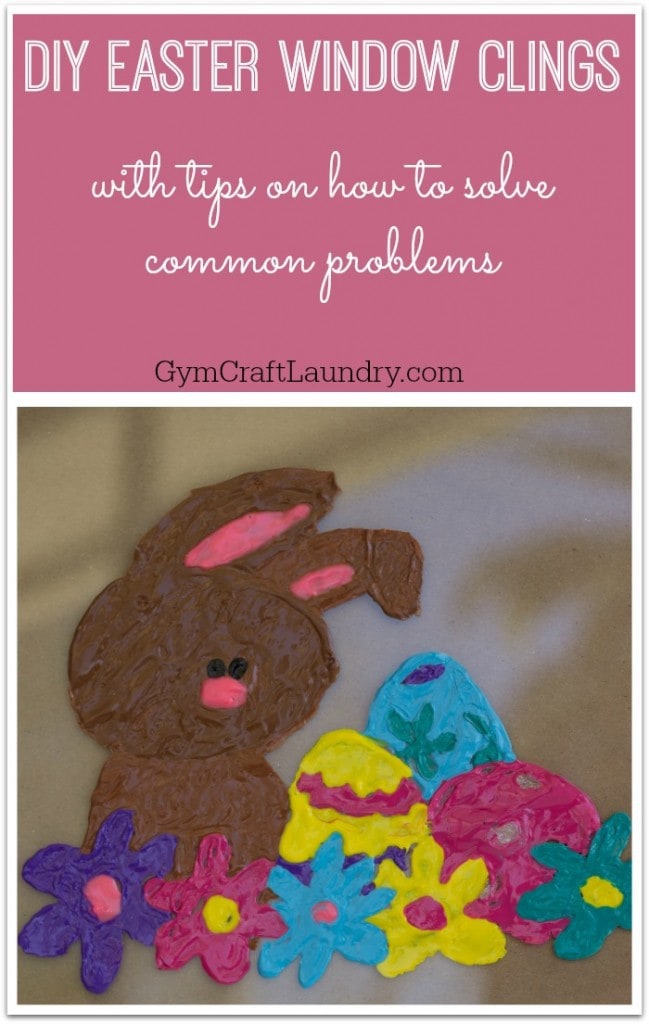
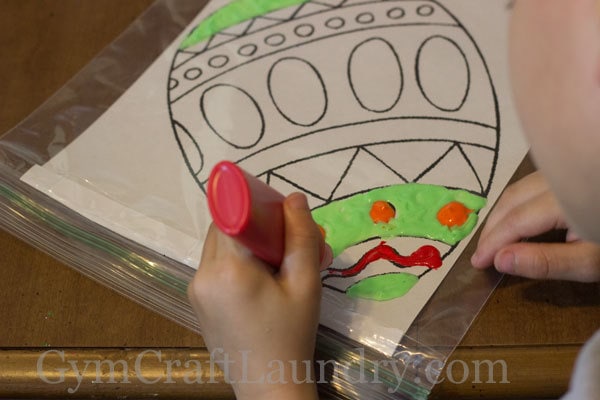
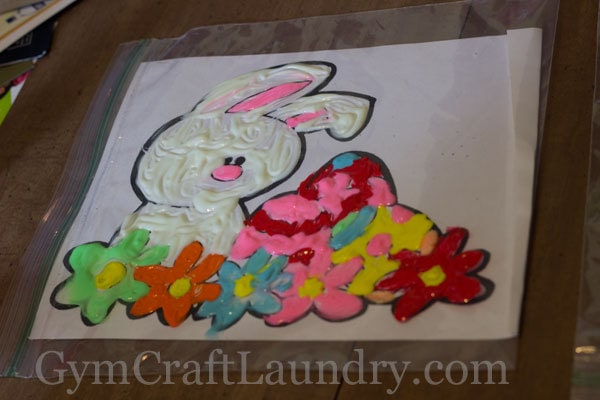
I settled on a bunny and an egg. All I had to do was grab two gallon sized plastic zip bags and place the coloring pages in each bag. Then I handed the kids the puffy paint and busied myself with the dishes. I wasn’t really planning to do a blog post on these clings then I saw what the kids were doing on their own. I was impressed!

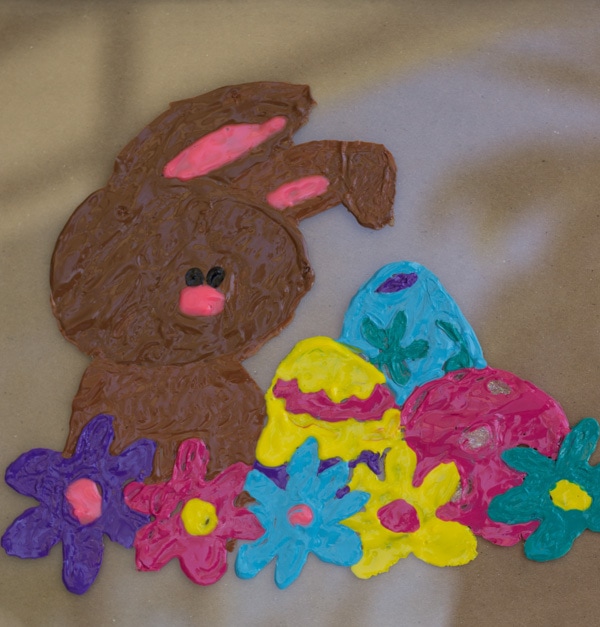
But, my daughter was very disappointed by how her bunny rabbit turned out and asked me to make one for her. I made one using the same coloring sheet and bag that she made hers on. However, I did realize that the photos don’t come out very well when I put the clings on the window due to the glare and reflections. I photographed mine on an empty picture frame to reduce the glare. All of our past window clings look much better in person than they did in the photos and I wish I had thought of photographing them on picture frames before!
I remembered that a couple of friends remarked to me that their window clings did not turn out well. So, after watching the kids do a couple on their own I decided to add some tips on getting good clings.
Tips for great (non-flimsy) window clings

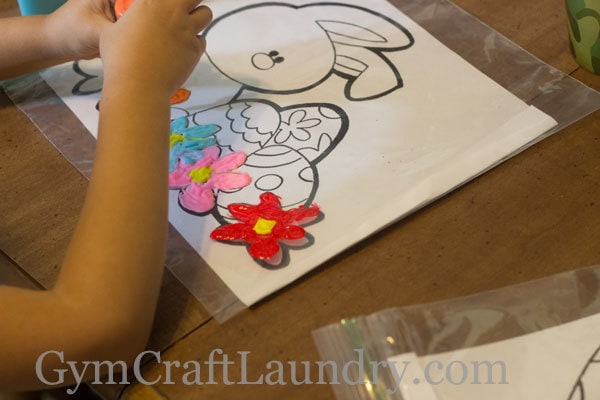
1. Glow in the Dark puffy paint is great for Halloween but requires a VERY thick layer to peel off intact. Pea used glow in the dark paint on a lot of her bunny and the result was a difficult to peel cling.
2. Pick simple pictures that will be easy to peel.
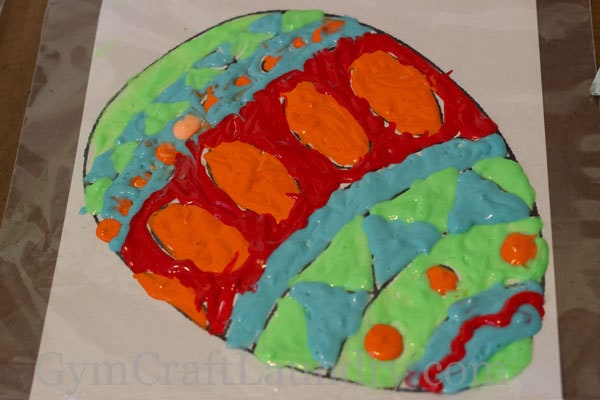
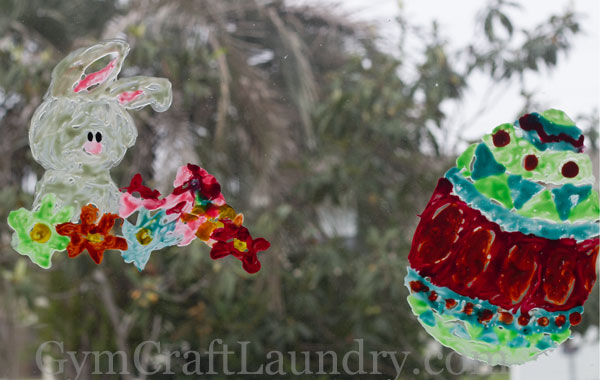
3. As the puffy paint dries, it shrinks a little so I always go back and add paint where the colors meet to reduce the holes. Sometimes I do this several times during the drying process. At the kids’ request, I did not do this for their clings and you can see the colors pulling back.
4. Make the edges of the picture thick. The cling will stretch a little and tear if it is too thin when you pull it off the plastic wrap. The edges of the easter eggs in Pea’s bunny were not thick enough. Combined with the pulling apart of the different colors, the eggs didn’t survive getting peeled off the plastic.
5. Go to the window with the plastic bag. Decide where you are going to place it.
6. Peel all the edges around the cling up first. Just lift all the cling around the picture up about half an inch. It doesn’t have to stay up but peeling it makes it less like to “stick” and will make the rest easier to peel.
7. Start SLOWLY peeling (after you’ve unstuck all the around the picture) from the thickest part of the cling and work your way inward. Do not pull. Simply lift.
8. Carefully place the window cling and smooth.
Let me know if that worked and made it easier for you!
More Resources:
The Easiest Window Clings to Make


These look great I wish I had little kids to do this with! Thanks for sharing on Monday Madness link party 🙂
Sharon Rowe recently posted…Starting Your Spring Cleaning
These are so cool, I’ve never made these but now I want to try. Thanks for linking up to the Bloggers Brags Pinterest Party. I have pinned your post to the Bloggers Brags Pinterest Board.
Janine Halloran recently posted…What My Daughter Learned While Sewing
Super cute! You are so talented. Pinned and tweeted. Thanks for being a part of our party. I hope to see you on Monday at 7 pm. Happy Easter! Lou Lou Girls
Lou Lou Girls recently posted…Red Velvet Cream Cheese Bars
these are adorable – and really genius! I will have to try this with our kids. My husband freaks out over window clings – and that’s really just laughable because it’s not like our windows would have been CLEAN without them there! TRUST ME!
tove maren recently posted…Is Toe Walking Sign of a Bigger Problem? The Experts Answer
I had not come across how to make window clings before and this is a fab idea. They look amazing 🙂 Have pinned and definitely going to come back and try it :)x GTTuesday.x
lindsey kettle recently posted…Fairy Cakes with Caramel Frosting
Would love to put some of these up this year, but am now in accommodation where such additions are not encouraged. I’ll bear it in mind though for future child activity exercises! Thanks for the tips.
Aw I am sorry to hear that. The clings are easy to remove (just peel them off the window) so don’t cause any damage whatsoever. Another option is to put them on a mirror or fridge inside!
This is a great and fun idea of any time of year. This allows kids to be creative and appreciate what they’ve done for weeks on in.
Reginia Cordell recently posted…Blog Post Ideas for Spring
That looks so cool! A lot simpler than I had assumed!
Carmy recently posted…Spotlight: Cynla
Great idea! Doesn’t matter if the outcome is not perfect, for me as long as the kids enjoyed doing it and learned something from it, I think it’s all worth it. Thanks for the tips 🙂
ladysoda recently posted…The Best Way To Protect Your Skin This Summer
This is really something creative for kids to do. It’s simple to do yet they could explore their creativity.
Franc Ramon recently posted…Move: Using Dumbells the Smart Way
This is a great idea! Easter is right around the corner and this will give the family something to do together! Much fun!
Oh those window clings look really cute. I didn’t know you could do this with puffy paint.
Heather recently posted…Our Spring Break Vegas Trip!
It’s so fun! Try it 🙂
This is very creative. Me and my kids have never tried a DIY Window Clings before. I would love to try this at home with them.
Manu Kalia recently posted…Shoulder Hand Behind Back Mobility
What a colorful Easter craft. My daughter and I will have a blast making it during Easter weekend
What a fun art project! This is so easy and turns out so beautifully 🙂 I’ll have to give this a try with my little brother and sister.
Liz Leiro recently posted…Heart to Heart
My kids would of had so much fun using window clings when they were younger. It is so easy to decorate.
April Decheine recently posted…Paisley My Lap Dog
My youngest loves decorating with window clings, I had no idea you could make your own! He’s going to love this!
Krista recently posted…16 Super Cute Bunny Crafts & Treats
Wow! that’s a great idea. I never thought to make like this to my daughter. Thanks for sharing at least I have still time to do this crafts with my daughter.
Wow, such a neat art project for kids! These are perfect for the kitchen windows.
vidya sudarsan recently posted…My Blog, In The News – FurnishMyWay
How fun! My boys always love playing with the holiday themed gel clings I get them from the Dollar Store, but these seem to be even better. Love how detailed your post was!
Amanda @ Queenofthelandoftwigsnberries recently posted…How to Play with Legos
It definitely keeps the kids quiet for a bit and they love watching me peel them off. I do let the kids peel easy shapes off the plastic themselves but they normally prefer I peel off the ones that we are going to put on the window.
Those turned out beautifully! Great job you guys and thank you so much for adding the tips. Tell your daughter she did a great job!
Chubskulit Rose recently posted…Ahoy Matey, Here Comes the Pirate
These turned out amazing, as always!
Echo recently posted…10 Great Ways to Bond with Your Daughter
These look great!! Thanks for the tips. I think I’m going to have to try again and use your tips! I see where I went wrong the first time.
becka recently posted…Where Does Your Inspiration Come From?
how adorable is that!? Looks really easy too, ill have to show my sister. Thanks for sharing!
Jenny recently posted…Baby Shower Time!
What a GREAT idea! I want to make these!
Kristen recently posted…10 Easy Easter Desserts
The kids will love it and the bonus is that the cleanup is next to nothing! The puffy paint can be easily scratched off the table 🙂
Those are adorable! Sadly I am not crafty at all, this is a project I would pass along to my Husband to do with the kids, lol.
christina recently posted…I’m Good
Try it! It is really easy 🙂
What a fun, creative idea. I never would have thought to do this, but I love it. I think they came out awesome.
They are so simple to make and my kids love coming home from school and seeing their window clings on the window!